Showing posts with label rx-78. Show all posts

Sunday, August 28, 2011

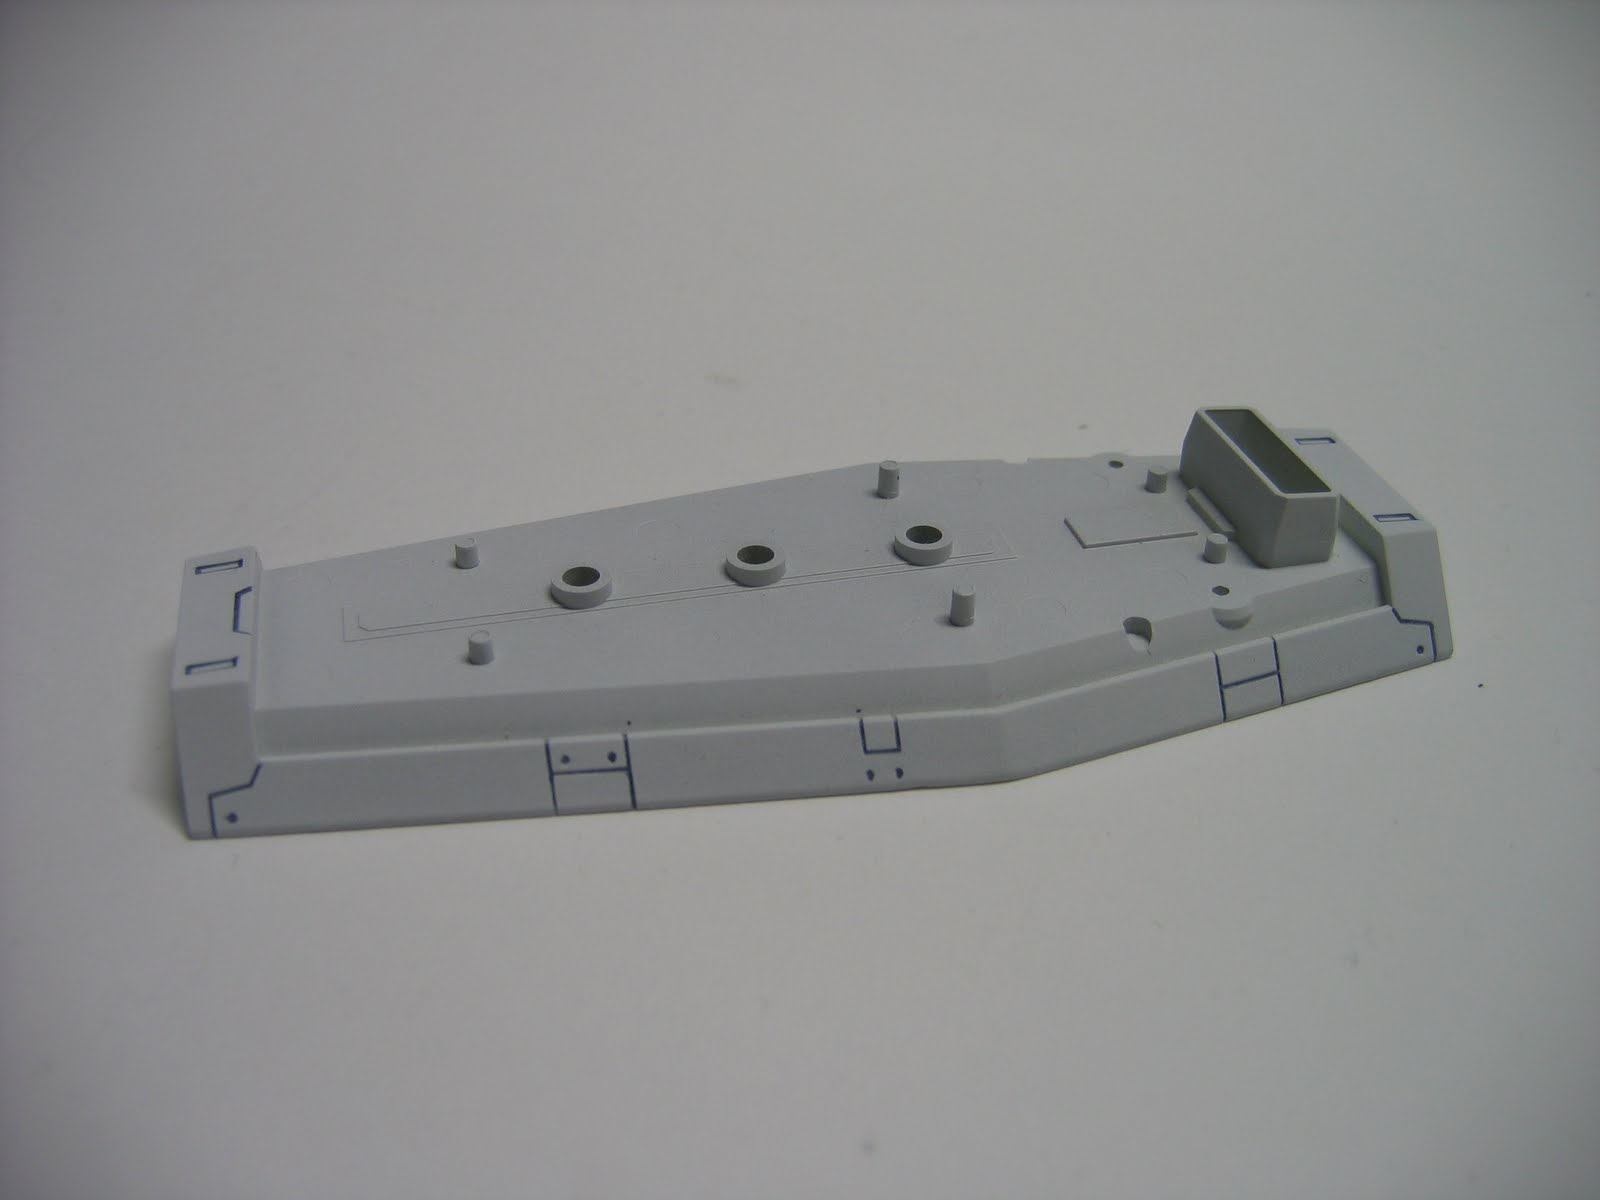
MG Gundam RX-78-2 (One Year War) Lower Torso complete

So got a tiny bit of time this weekend to finish his lower torso.

All the white was sprayed in Tamiya White Primer over gundam marker. Decals were added. The yellow and red was sprayed as the same time as the shield. Torso was already gun metal from before.


Friday, August 26, 2011

Gundam Fix Figuration: Full Armor Unicorn Gundam

This figure is pretty insane. Insane detail, beautiful stand and intense articulation.

Oh yeah. and a bajillion fuckin guns.

Today is a day for both good/happy and bad/sad news. So a short bit of history. My current co-op job was secured near the end of Feb, with the first day being May 2nd (also where I met Liam, Grandmaster of 30 day blog challenge). Upon this great news and also being so close to Valentines day, my girlfriend bought this gift for me both as a Valentine's day and congratulatory gift. I decided on that day that the perfect place would be right on my desk at work starting May 2nd. I brought that bad boy in the very first day and throughout the first week spent lunch breaks setting up part by part. It was a slow build up. After 1 week he was completed and sat on my desk in all his weaponry glory.

Fast forward till now, it is determined that I will be working at home for a while.

So I said today was both happy/good and sad/bad. The sad/bad news is unfortunately I had to start bringing some stuff home and this figure had to be packed up and brought home today (it takes up my entire bag). I really wanted him to sit on the desk and be seen or admired. Lots of co-workers had stop by to take a look and chat me up regarding it. It's also a friendly reminder of her throughout my day, which is a great bonus.

The good news is that he's home so I'll be able to take him out and take more pics for you guys to see (hopefully tomorrow...but probably less likely). However, he likely will be set up again and placed on my home office. But its nicer to bring a part of home to the office...than have a piece of home...well...at home. Enjoy the pictures. AND THE SHITLOADS OF WEAPONRY.

The day I received it:

Custom made China-man styrofoam box:


First impression of box:
First set up for test fitment:
Final home on work desk (or so I thought).


Tuesday, August 23, 2011

MG Gundam RX-78-2 (One Year War) Chest Complete

We are about halfway through the 30 Day Blog Challenge and I have had quite a few conversations with people who are actually reading my blog but not commenting. I INVITE you guys to take a few seconds to sign into your google accounts or facebook accounts and add a comment or even saying "yo pete. thats hype." would be pretty awesome.

So been hustling pretty fast here. Never went this quick through a model. But after taking the pics I realized my replacement camera is too damn bright which kills a shit ton of the detail I painstakingly invest in my models. It looks much better in person, so hopefully I can learn to use this thing to make it a tad darker to bring out the detail and panels.

So firstly, I had finished the under-skeleton with gunmetal and detailed it up.
The upper body armor consisted of mostly 3 colors: Blue, Red and Yellow.

I gave the red the same treatment I had given the shield. It was panel lined and then sprayed with Tamiya TS-18 Metallic Red.

Next up was the blue which was sprayed in Tamiya TS-19 Metallic Blue. Once again, I had panel lined the part before the clear.

Then yellow was done earlier at the same time I sprayed the quad-star on the shield. I gave it a thin coat of Bright Sun Metallic.

Here are some pics before the spraying of the Red, Blue and Yellow parts:


For the pics below, it only shows assembly after I had sprayed the TS-18 Metallic Red and TS-19 Metallic blue. The yellow parts are still stock color.


After the completion of spraying the colored parts, the blue and red pieces required decals. The Gundam kit comes with two kinds of decals. One is the rub on's as seen on the shield from previous posts and the second is an ultra thing sticker which Bandai is started to favor quite a bit. Personally, I dislike the thin stickers and prefer the rub-on's and water-slide decals because no matter what I do, its still evident that they were stickers stuck on.

Following the application of the decals I gave the red and blue parts a douse of Tamiya TS Clear to seal them off and maybe make it less evident that they were stickers. Hopefully I did a good job.

I then laid out the pieces of the chest for assembly:


Completed:


While I had the TS-18 Metallic Red out, I also had sprayed and applied decals to the feet. I decided to test fit them on the under-skeleton to see how it was looking so far. Not bad eh?


COMMENT. FUCK.

Saturday, August 20, 2011

MG Gundam RX-78-2 (One Year War) Shield Complete

Hey hey.

I haven't been at home up until now and didn't have an access to the computer, so here's my post. Just pictures of the completed shield as promised:

Got the yellow star in the middle painted Cadmium Gold, and the lens installed in the shield. The entire red front had a clear coat to seal everything up and the back the gun metal was cleaned up.

Pictures!


Thursday, August 18, 2011

MG Gundam RX-78-2 (One Year War) Shield Build Up


So I finished the shield, but Camera AND NOW my battery charger is acting up. $60 15 minutes Nickel Metal charger decides to automatically turn itself off after 10 seconds. Dunno whats wrong with it. Pissing me the fuck off.

Anyways, another last second blog post of my progress with a temp camera. The shield is actually finished, but my batteries won't charge, so enjoy the progress pics. The finished shield looks really good. But you won't get to see it right now because all my shit keeps breaking.

Enjoy.

The shield face comes in 4 pieces. The main front is molded in red plastic. I gave it a douse of Tamiya metallic red over top of some panel lining. The spray is actually a metallic red clear, so it seals over the panel lines as well.


Next up was a rub on decal. I use scotch tape to position it and tape it down. I use the back end of a mechanical pencil and rub it down. I then peel it away and if there's some air bubbles or something I cry a little bit and use my hobby knife to cut it loose. Notice the red paint in the second picture. OOOOHH AAAAAH.


The white of the RX-78 in this kit has some kinda nasty beige hue on it. Kind of like rotten old white plastic or some vintage toys that use to be white, but have yellowed over time. I hate that look, so the majority of the white in the kit I'll probably have to spray over. Once again I did the panel lines first and then after I sprayed a Tamiya white primer over top of the entire shield.


After completion of the front side, the back of the shield requires a gun metal finish. I mask off all the white and apply a coat of Valspar Gun Metal.


I'll try to get the pics of the completed shield up tomorrow.

Saturday, August 13, 2011

MG Gundam RX-78-2 (One Year War) More Progress...

Alrite. So no gonna be that crazy post I promised you guys. But I did make some progress on the underbody today. Please please please enlarge the first pic. I really took the detail to the next level on this build, so I want you guys to see the full SHABANG.

First thing was everything was fully dried from being sprayed gun metal yesterday.

I spent a lot of time detailing the parts so they'd look really mechanical. Used lots of gold, copper and silver to bring out the detail in the parts.

Actually spend a LOT of time detailing these parts. What do you guys think? Looks pretty good eh? Hopefully this guy will keep going good.

Additionally, my old Canon PowerShot A95 that I use to take these pictures is on its death bed, so there's a purple kinda hue on the left side of the later pics.


I'll be working on the chest tomorrow. A lot of the pieces are getting ready to be sprayed and decalled, but I have something else I want to show you guys tomorrow..

Friday, August 12, 2011

MG Gundam RX-78-2 (One Year War) Progress

Didn't do anything special today. Just your typical friday. Gonna be a lame update...But I'll have a super dope one for you guys tomorrow...hopefully.

Now some Gundam Model Kit Knowledge:

Whats special bout the "MG" class Gundam's is that they contain an under frame. These frame's are pretty high in detail and allow the Gundam's to have tons of articulation and hold some pretty insane poses. This particular model is in 1/100 scale, which normally averages from 8 - 10 inches in height. The other common scales are 1/144 (4-5 inches) and 1/60 which is pretty damn big. I have no clue how big these are since I don't own any. If your really curious about the Gundam Model hierarchy, their all on wiki.

For my underbody I chose to bust out the Gun Metal spray cans to make this thing look as mechanical as possible. I started out with taking out the pieces for the legs and arms and doing the underbody of the chest.