Monday, August 22, 2011

One Time...I met the Dark Lord of the Sith. And he signed my Lightsaber.

Blast from the past.

A few years back when I was in San Francisco, David Prowse just happened to be there signing autographs and taking pictures. If you don't know who he was, he was the man in the original Darth Vader suit when the first Star Wars hit theaters in 1977. James Earl Jones the Voice. David Prowse the Body. Simple as that.

I quickly grabbed one of the Master Replica's 0.45 scale machined metal Lightsabers and had him sign it for me on the spot. It was just spontaneous, I wasn't planning to see him there, or knew he was going to be at Pier 39. He's a great guy and very open to answering questions. Enjoy the pics.


Sunday, August 21, 2011

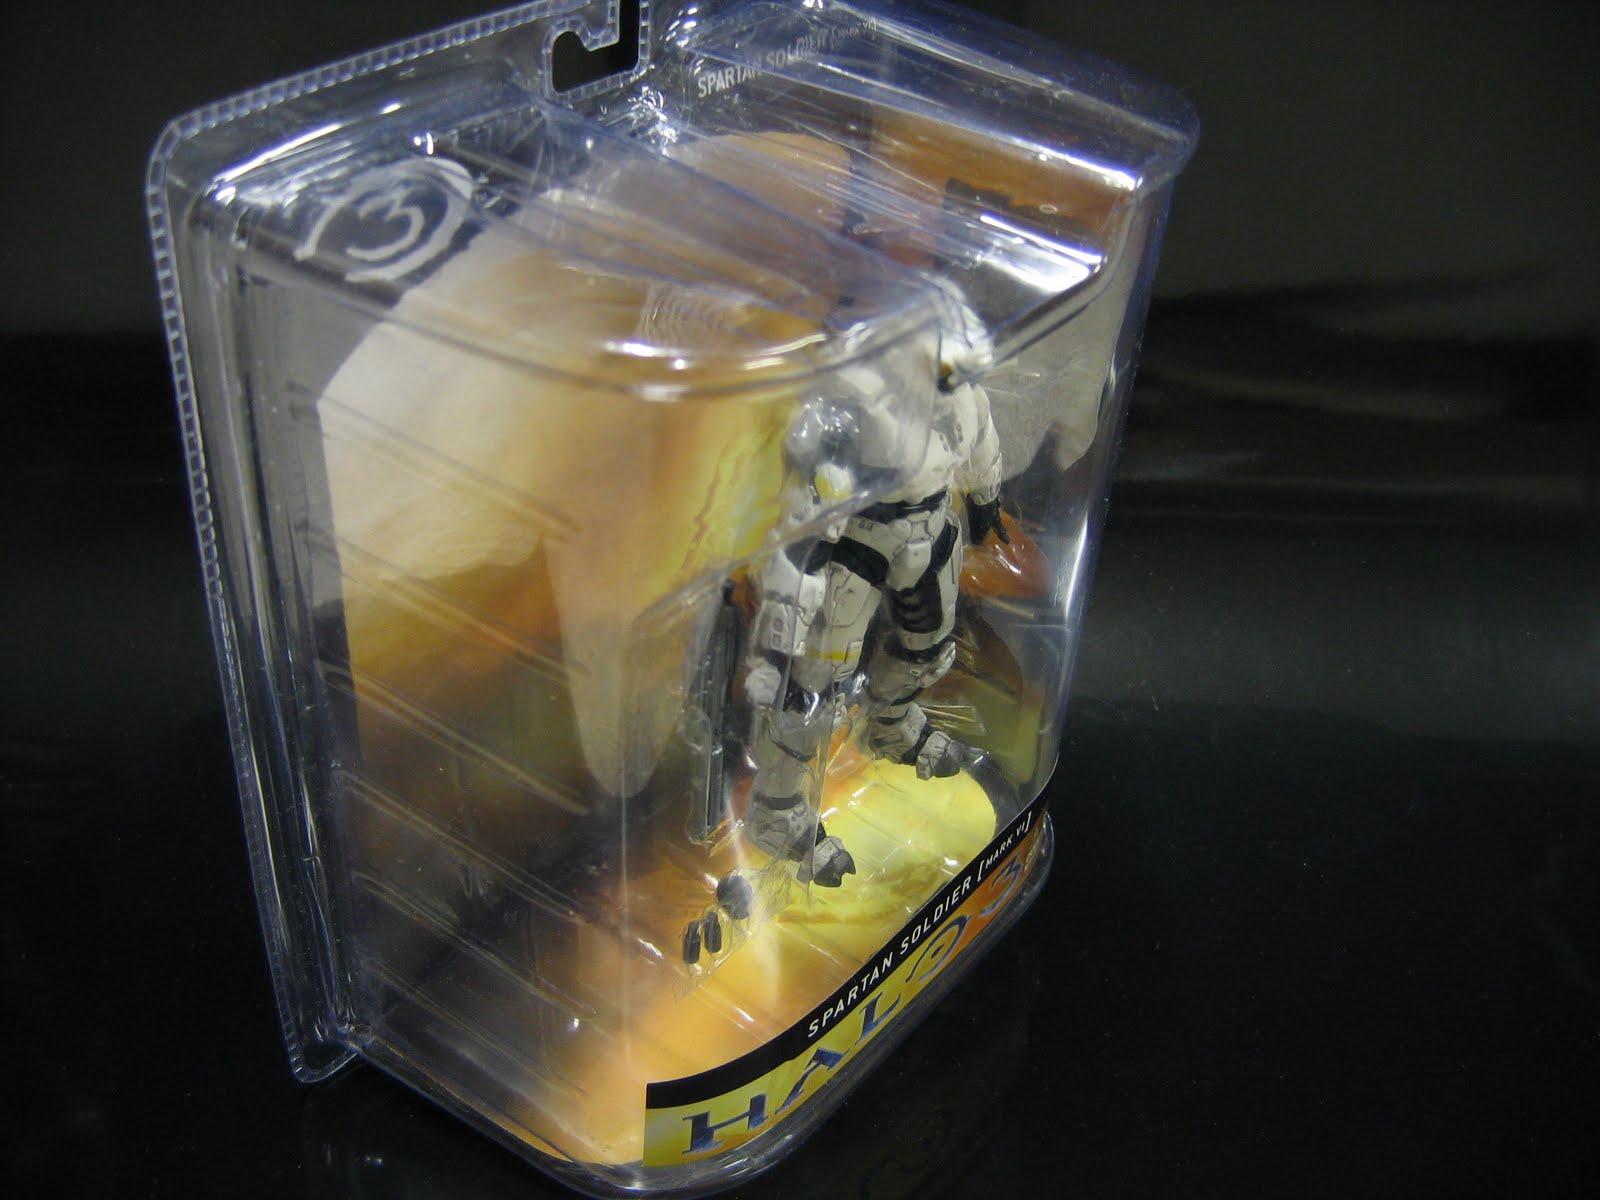
McFarlane Halo: Series 1 White Spartan

I forgot to introduce to you guys the McFarlane Halo series. I'm a huge halo fan. Halo has been my favorite game through the later half of my life and it's still my favorite gaming franchise ever.

I had been a collector of the McFarlane NHL Sports Picks (just the standard McFarlane Hockey Figures) and when I found out McFarlane was awarded the rights to produce the Halo 3 series, I was ecstatic.

Needless to say, I have collected a ton of these over time as well as Mighty Muggs. Majority of mine (probably 90%) are different Spartans. There's something about their combat suits and battle formations that has always appealed to me. The very first McFarlane Halo figures was released spring of 08 and had the major characters in Halo 3. My first figure was of course Master Chief (still in package) and a white spartan.

Hopefully over time, I will post more and more of my halo figures. I figured that after the 30 day blog challenge I'd post a "Halo figure a day" for maybe 30 days and give you guys a small description of what armor, rank and relation he has in the Halo story line.

Here's some pics of the white spartan.


Saturday, August 20, 2011

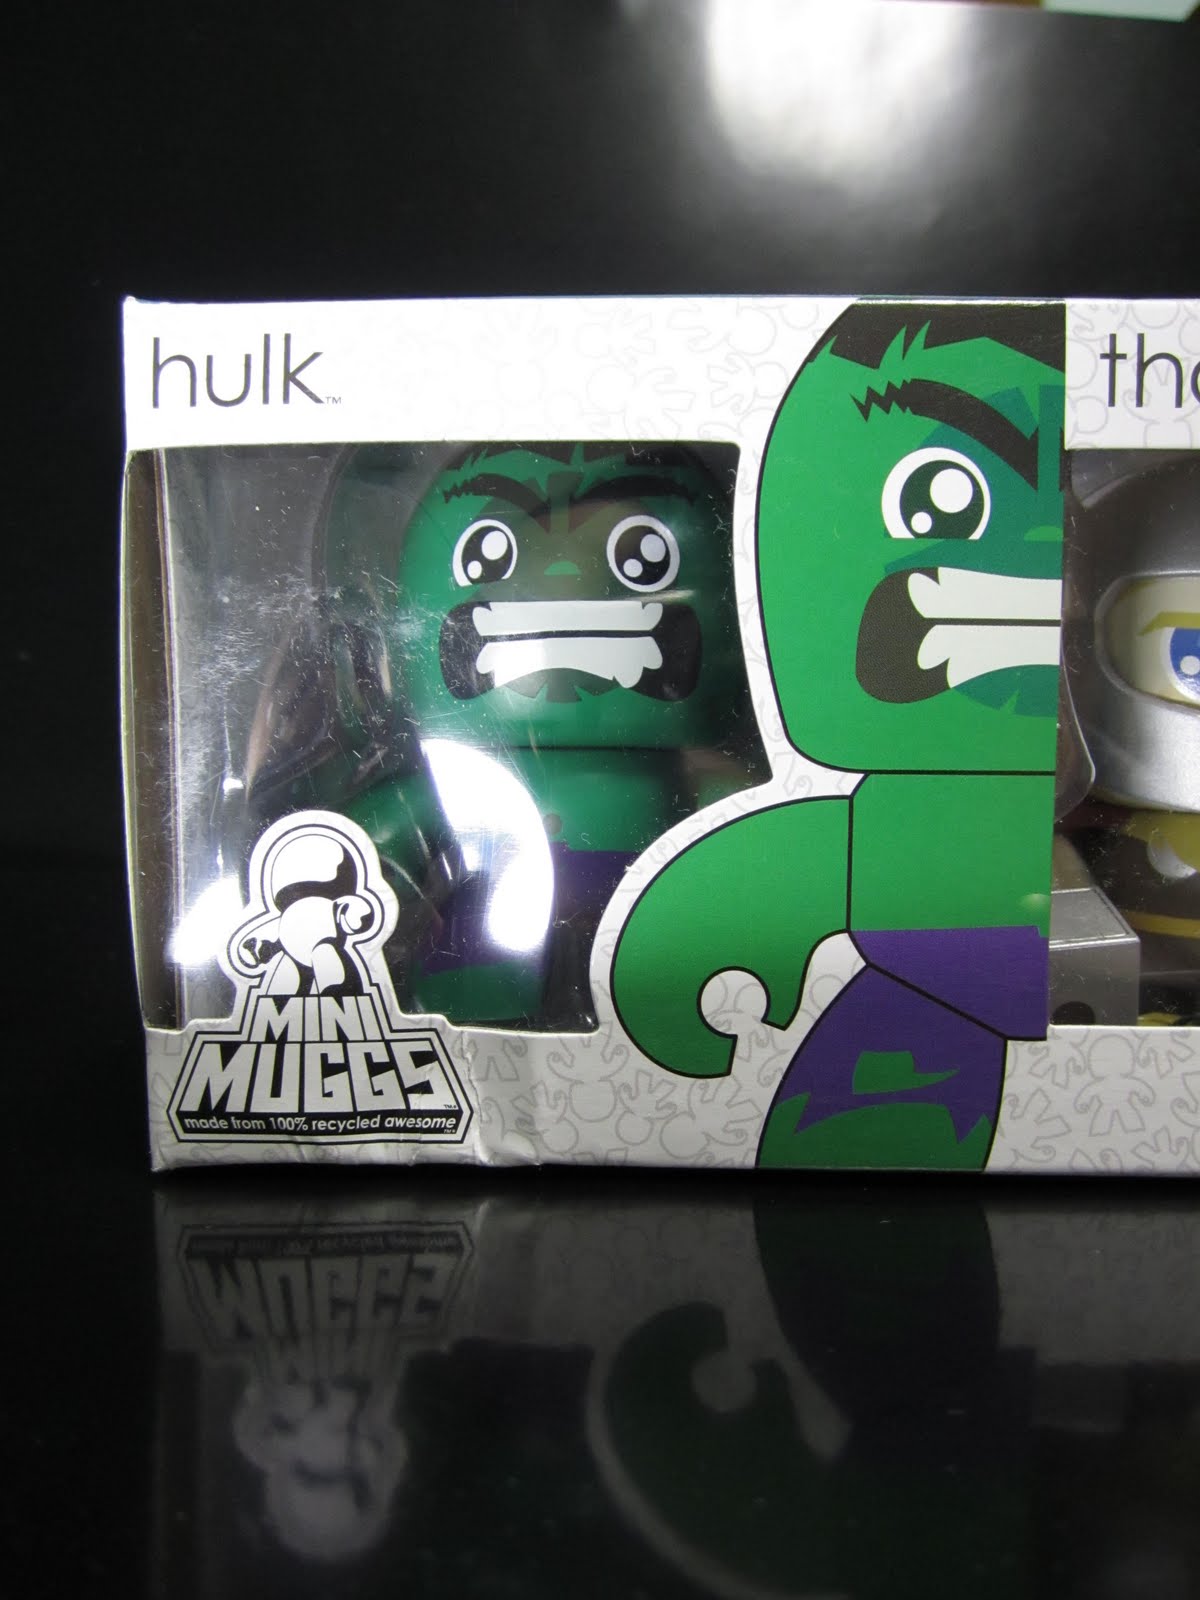
SDCC Exclusive Avengers Mini Muggs Set

So I got home pretty late last night and didn't even check the living room. But apparently my long awaited second SDCC Comic Con Exclusive had arrived. Woke up this morning and cracked him open.

After the Mighty Muggs line got discontinued by Hasbro, they created a few exclusives in "Mini Muggs" form. These guys stand about 2 inches tall, while a normal Mugg stands about 6.

The set includes Hulk, Thor, Ant Man/Hang Pym/GiantMan, Iron Man and Captain America.
Since Hank is "Giant Man" he's a full size Mugg and "explodes out of the box". I find it pretty humorous, so had to add this guy to my collection.

The original "Avengers" were these 5 members and as kind of a part preview for The Avengers movie coming out next year, I guess they chose these characters as this years Comic Con Exclusive.

Enjoy the pics.


MG Gundam RX-78-2 (One Year War) Shield Complete

Hey hey.

I haven't been at home up until now and didn't have an access to the computer, so here's my post. Just pictures of the completed shield as promised:

Got the yellow star in the middle painted Cadmium Gold, and the lens installed in the shield. The entire red front had a clear coat to seal everything up and the back the gun metal was cleaned up.

Pictures!


Thursday, August 18, 2011

MG Gundam RX-78-2 (One Year War) Shield Build Up


So I finished the shield, but Camera AND NOW my battery charger is acting up. $60 15 minutes Nickel Metal charger decides to automatically turn itself off after 10 seconds. Dunno whats wrong with it. Pissing me the fuck off.

Anyways, another last second blog post of my progress with a temp camera. The shield is actually finished, but my batteries won't charge, so enjoy the progress pics. The finished shield looks really good. But you won't get to see it right now because all my shit keeps breaking.

Enjoy.

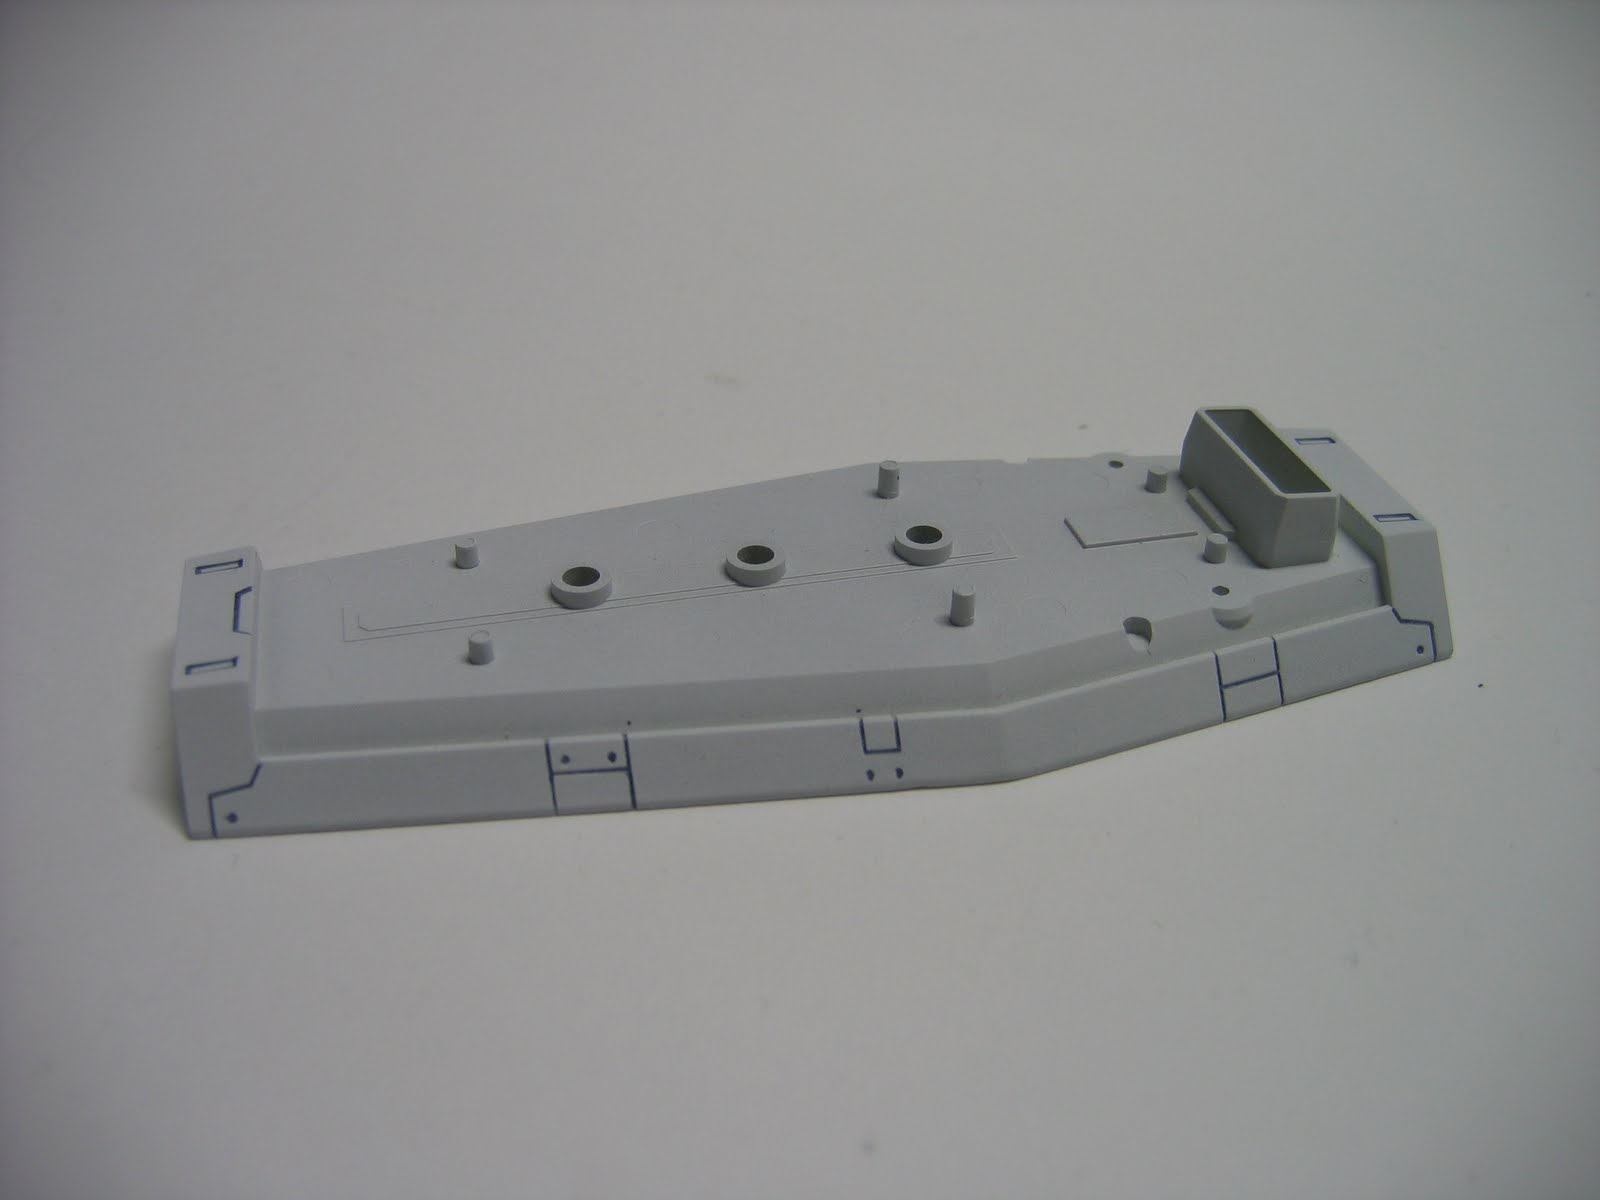
The shield face comes in 4 pieces. The main front is molded in red plastic. I gave it a douse of Tamiya metallic red over top of some panel lining. The spray is actually a metallic red clear, so it seals over the panel lines as well.


Next up was a rub on decal. I use scotch tape to position it and tape it down. I use the back end of a mechanical pencil and rub it down. I then peel it away and if there's some air bubbles or something I cry a little bit and use my hobby knife to cut it loose. Notice the red paint in the second picture. OOOOHH AAAAAH.


The white of the RX-78 in this kit has some kinda nasty beige hue on it. Kind of like rotten old white plastic or some vintage toys that use to be white, but have yellowed over time. I hate that look, so the majority of the white in the kit I'll probably have to spray over. Once again I did the panel lines first and then after I sprayed a Tamiya white primer over top of the entire shield.


After completion of the front side, the back of the shield requires a gun metal finish. I mask off all the white and apply a coat of Valspar Gun Metal.


I'll try to get the pics of the completed shield up tomorrow.