
Took me a while to tune the Camera until I felt it would fully demonstrate the detail and crafting gone into creating this figure.
If you missed Part 1 just click on the link to view the packaging and the first impression I got of it. After taking it out of the box the figure stands simply like this


Here are the specs from the official Hot Toys website:
Authentic and detailed fully realized Mark 2
- Stands approximate 30 cm tall
- Over 36 points of articulations
- Metal-like painting
- Special features on the MARK II armor:
+ Light up glowing eyes and heart (battery operated)
+ Articulated flaps at back of the armor and on legs
+ Working forearms missile
- "Prove that TONY STARK has a heart" accessory with light up function
- Three pairs of Interchangeable hands, including light up replusor palms
- Alternate head that has a raising face- plate revealing the face of
Robert Downey Jr. as TONY STARK
- 12-inch figure stand
- 12-inch figure stand


First the light up head is made quite well and the inside where it pops onto the neck is made with pretty high quality vinyl. I've moved his head a lot over the years and its still snug as ever.
What I was impressed most with is the Tony Stark head. Check out just the face plate! The interior has all the wiring and gizmo's seen from the movie when your in the first person view of Tony and he's about to pop it on. Also, the face plate is held on by neo-magnets so they didn't have to design some fragile system that could easily be snapped and be super complicated. The magnets allow the face plate to sit on the top of his head pretty nicely.


The face sculpt is incredible. It looks entirely realistic down to the painted beard and his eyes having gloss to resemble real eye balls. Its pretty creepy having him stare out because its so realistic.


Next up is the Chest and Back. The back has fully articulated flaps that can spread open like an air brake and initially receiving this figure I thought it was amazing, but the later ones have greatly improved with using real metal and detailing the inside of the flaps even further.


The detail was very important to me which is why I picked up the Mark II instead of the infamous Gold and Red Mark III. This is most evident in the chest plate. The paint appears to be brushed aluminum and the detailing around the center arc reactor is fantastic. The rivets really made the difference in the realism of the figure because the Mark III had this very plasticy red feel to it while this figure appeared to be shaped from metal.


The articulated forearm rockets were a major plus but seemed odd to be include. It appeared the Mark III was the one that was weaponized while the Mark II was only a flight tester unit, but since the Hot Toys Mark II came out after the Mark III, they probably had just included it in there since they had spent so much time developing it.


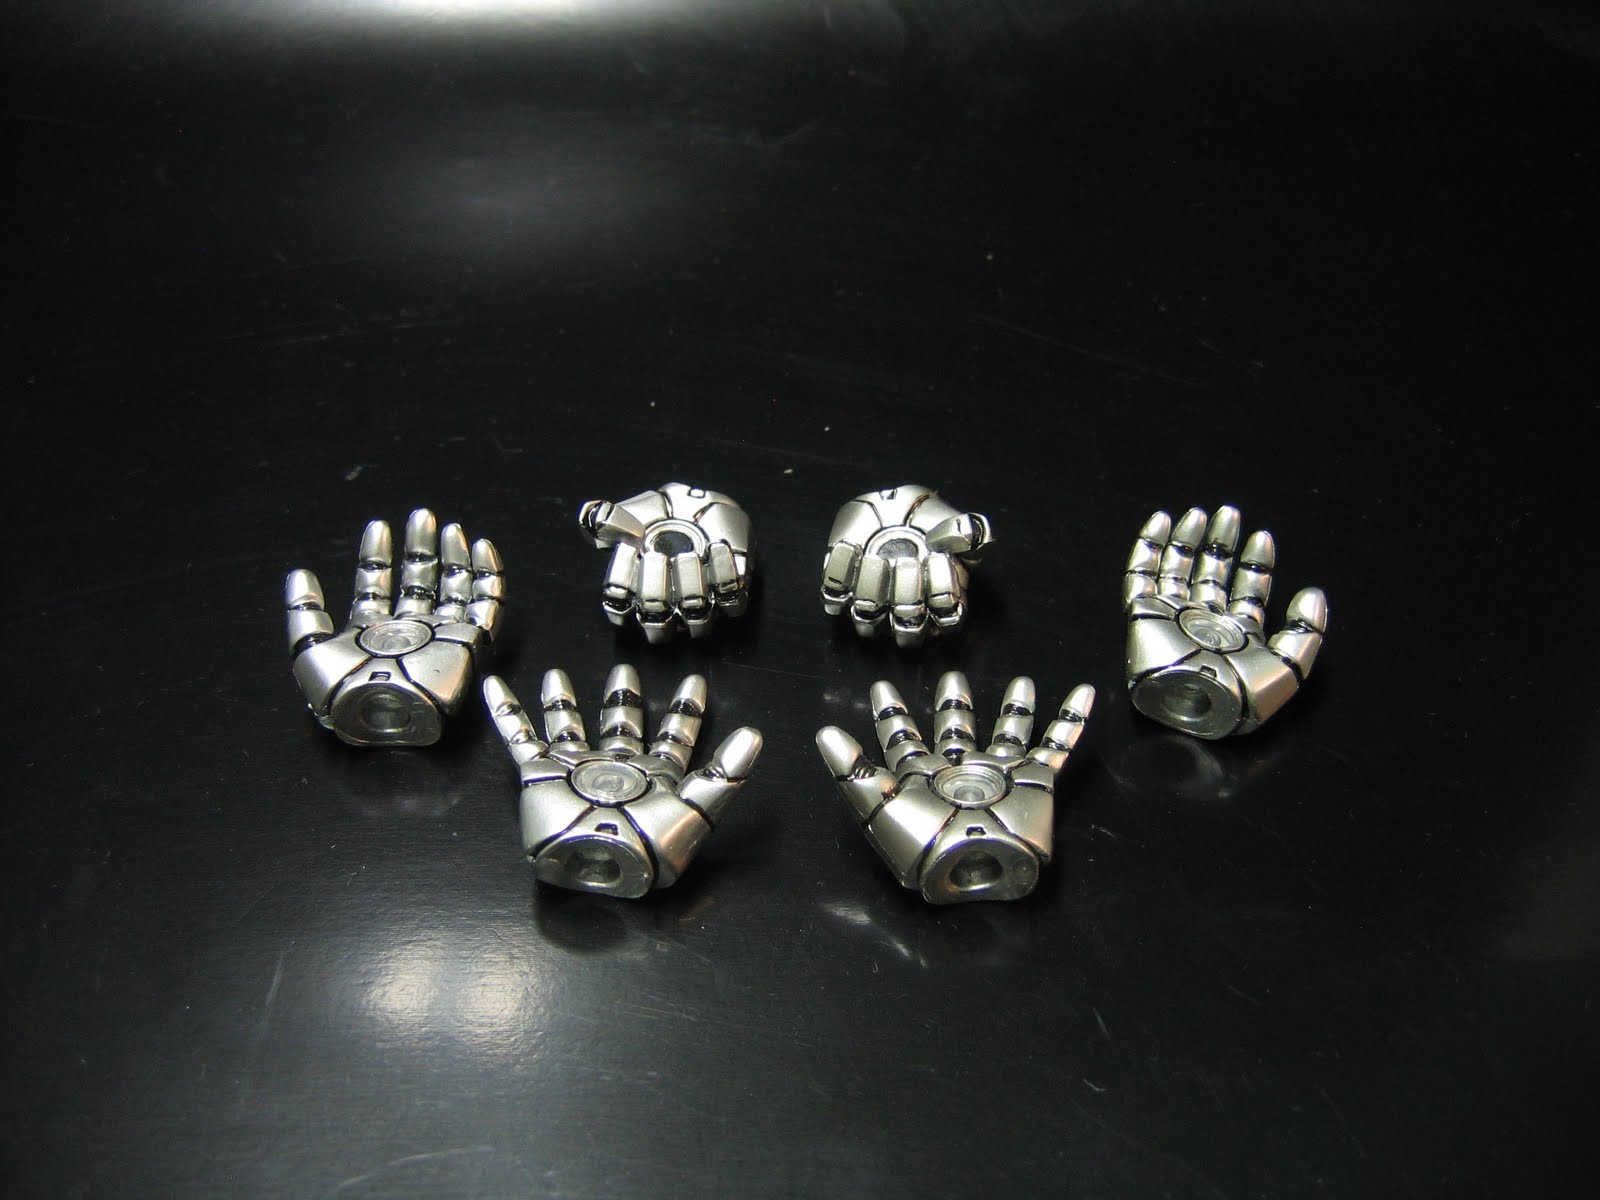
The figure comes with 3 pairs of hands with the slightly and full opened palms having clear acrylic in the center so they can be lit up. The shading in the hands were excellent just like the rest of the figure. Again, the later Hot toys had improved on this aspect because they now have FULLY articulated hands where every joint can be manually moved.
And last but not least are the air brake and component flaps on the back of the leg. In the movie, it directly zooms into the back of the leg when Tony Stark suits up for the first time, so Hot Toys taking the time to simulate this was awesome. The wiring and all the little bits are painted in this nice metallic chrome which gives the feel of real metal even though I know their plastic parts.


That pretty much concludes the features of the figure. I leave you with him in my favorite Iron Man poses I could conduct with only one lit up hand. The other side is out of batteries because I kept it on over night by accident on the first day I received him.


